
Every scene in your Powtoon is built from objects — characters, props, images, and shapes — placed on the stage. Once an object is on the stage, you use the timeline to control how long it appears during playback. This article explains how to add a single object to the timeline and how to time multiple objects on the same slide.
Prerequisite: You must be working in Create mode to add objects to the timeline. If you are in Preview mode, switch to Create mode before following the steps below.
Note: Each time interval supports a maximum of 48 objects.
1. You need to be working in Create mode in order to add objects to the timeline.
2. Although this article uses characters as an example for working with objects on the timeline, the guidelines provided are relevant to all the objects that can be used in your Powtoon.
Adding a Single Object to the Timeline
From the Powtoon library, select the object that you want to add. The object is added to the timeline with a corresponding tag.
- After you've added the object, note the following:
- The object is added to the timeline where the playhead is positioned.
In the example below, the playhead was positioned at 1 second when the object was added. After the object is added, the playhead is pushed forward by a 1/2 second. - The duration on the timeline is represented by the turquoise area.
In the example below, the object displays from 1 second until 10 seconds.
- The object is added to the timeline where the playhead is positioned.
- To change the object's timing (duration):
- Drag the left edge of the object's duration to the desired beginning time.
- Drag the right edge of the object's duration to the desired end time.
In the example below, the character plays from 3 seconds until 7 seconds.
 Adding Multiple Objects to the Timeline
In most cases, your Powtoon slide will include more than one object. There will probably be one or more characters, a prop, and perhaps an image. It is important to properly time the objects so that your scene plays correctly.
- From the Powtoon libraries on the right side of the studio, select the objects that you want to add to the slide.
- Set the timing (duration) for the objects:
- Select the object that you want to work on (in the example: the female character).
Its corresponding tag and current duration (in the example: 3-7 seconds) are highlighted on the timeline. - Drag the left edge of the object's duration to the desired beginning time and then drag
the right edge of the object's duration to the desired end time.
In the example below, the female character is on the slide from 4 seconds until 7 seconds.

3. Set the timing for the other objects on the slide according to the guidelines above.
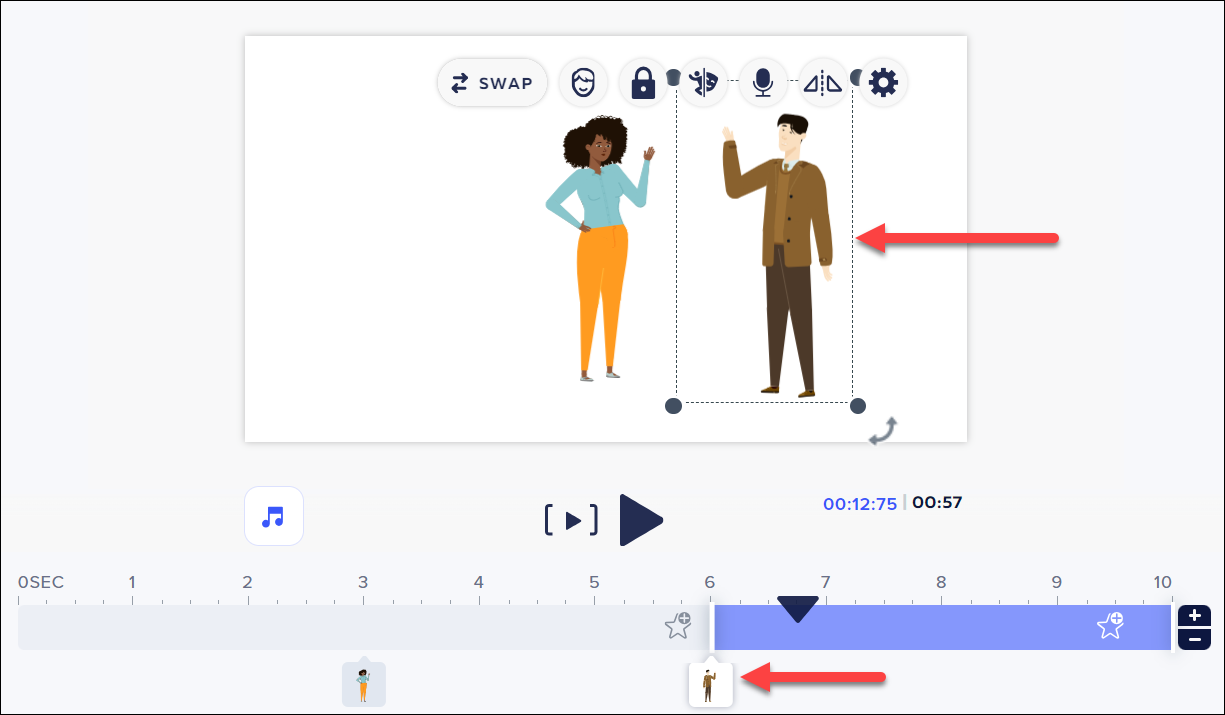
Make sure that the object you are currently working on is selected and its tag is highlighted on the timeline.
In the example below, the male character is selected and the corresponding tag is highlighted on the timeline.

Following the examples in the steps above, the final scene plays as follows:
1. The female character plays from 3 - 7 seconds.
2. The female character plays from 6 - 10 seconds.
3. The boy and the girl appear together on the slide from 6 - 7 seconds.
1. The female character plays from 3 - 7 seconds.
2. The female character plays from 6 - 10 seconds.
3. The boy and the girl appear together on the slide from 6 - 7 seconds.

Comments
0 comments
Article is closed for comments.